How to Put Text Behind an Object in a Photo for Free

OptimizeYourImage Team
Author
Published
Reading Time
5 min read
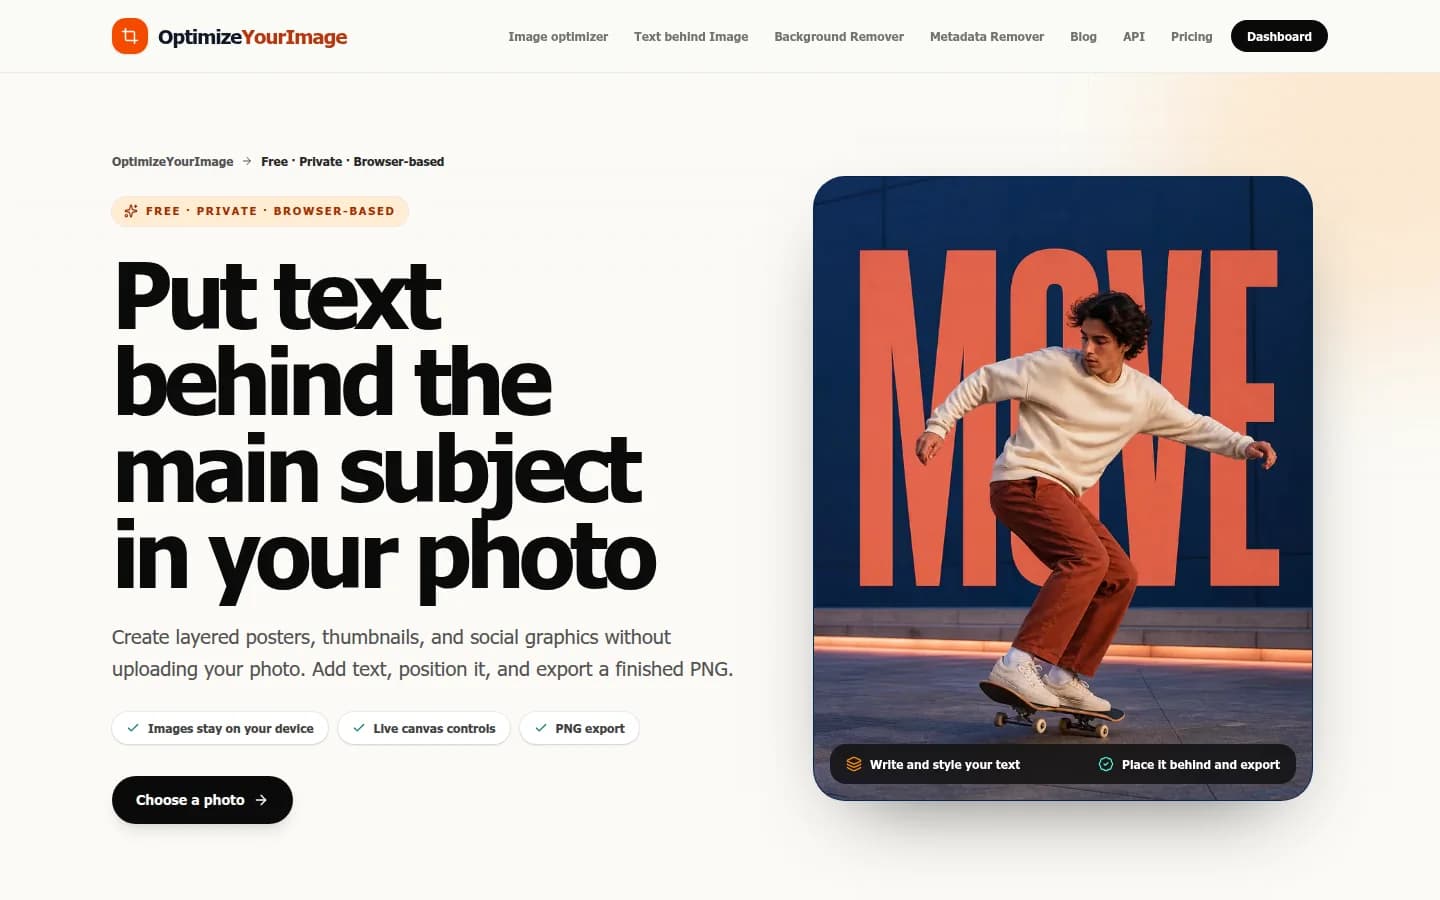
Placing text behind a person, product, animal, or other foreground subject gives a flat photo an instant sense of depth. The effect is common in posters, YouTube thumbnails, album covers, event graphics, and social posts because it makes the subject and headline feel like parts of the same composition.
You do not need Photoshop, manual masking, or a paid design subscription to create it. The free Text Behind Object tool from OptimizeYourImage uses local AI to separate the main subject from the background. You can then position and style your text on a live canvas and export the finished design as a PNG.
Your photo is processed in your browser rather than uploaded to OptimizeYourImage. There is no account requirement, per-image fee, or watermark.
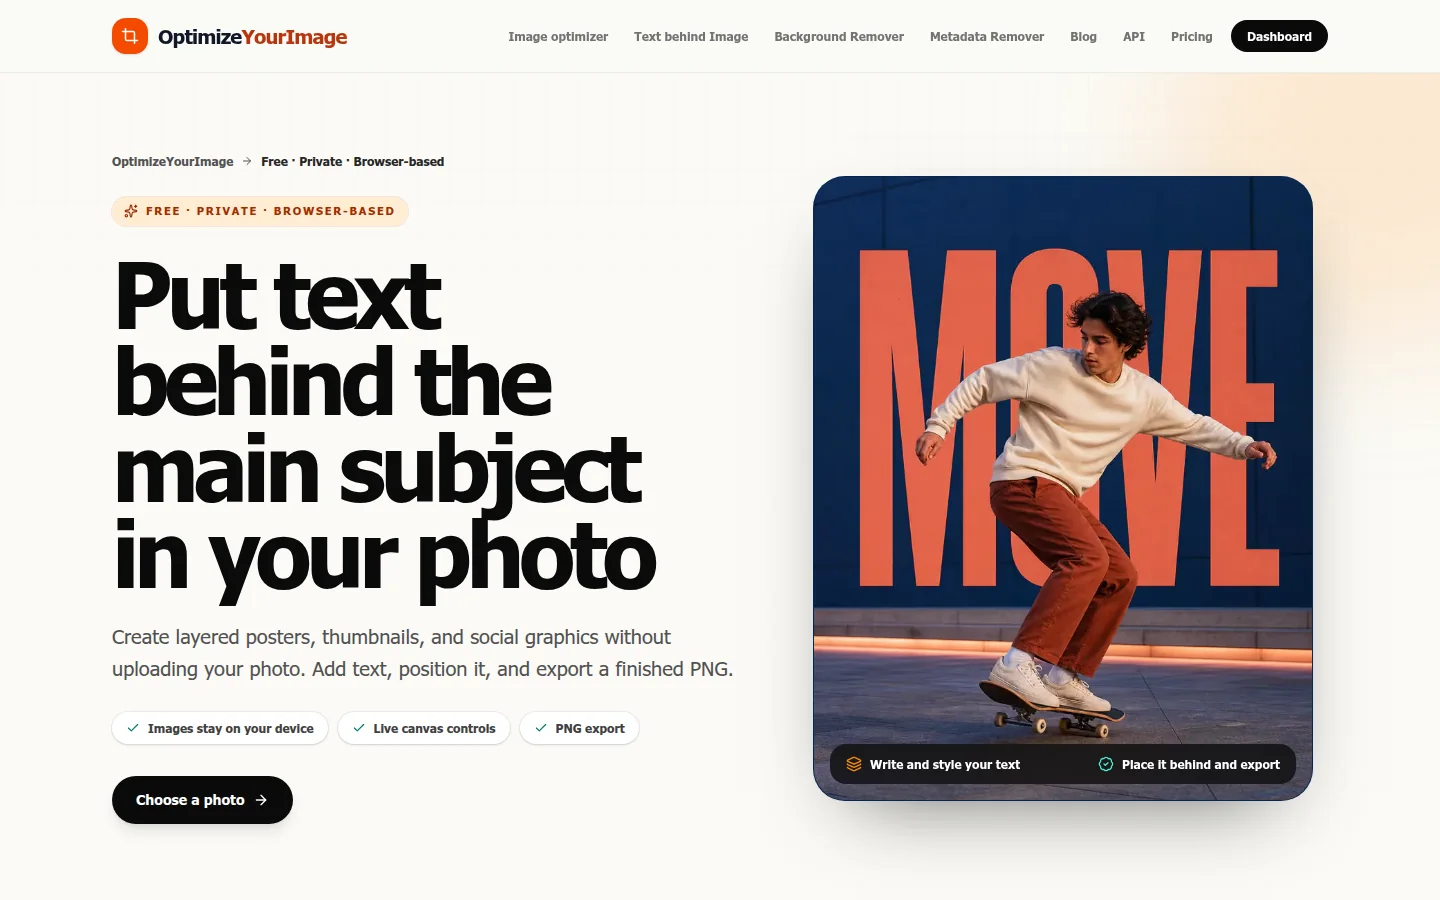
What is the text-behind-object effect?
A normal image has one visible layer: the photo itself. A text-behind-object design creates the appearance of three layers:
- the original background;
- the text in the middle;
- the main subject in the foreground.
Parts of the text remain visible around the subject while other parts are hidden behind it. This controlled overlap creates depth and directs attention toward the subject.
The effect is sometimes called text behind a person, text behind an image, or masked typography. The basic technique is the same: identify the foreground subject and place the text beneath that foreground layer.
How to put text behind an object online
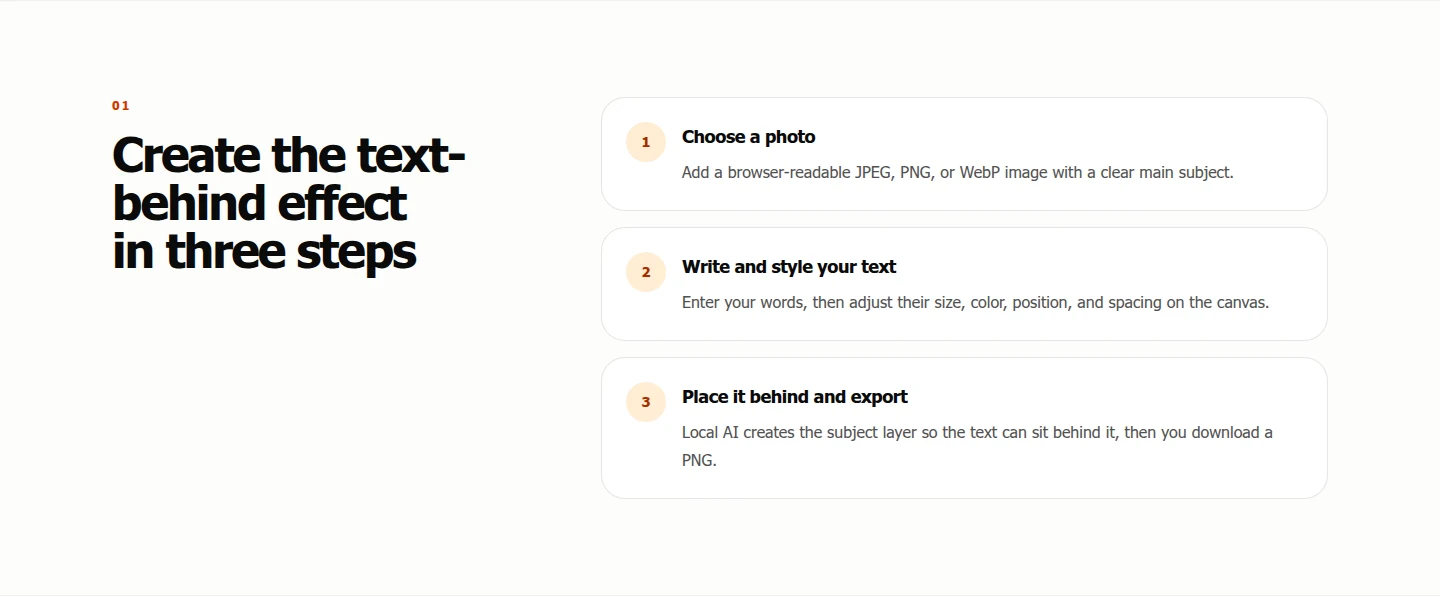
1. Choose a suitable photo
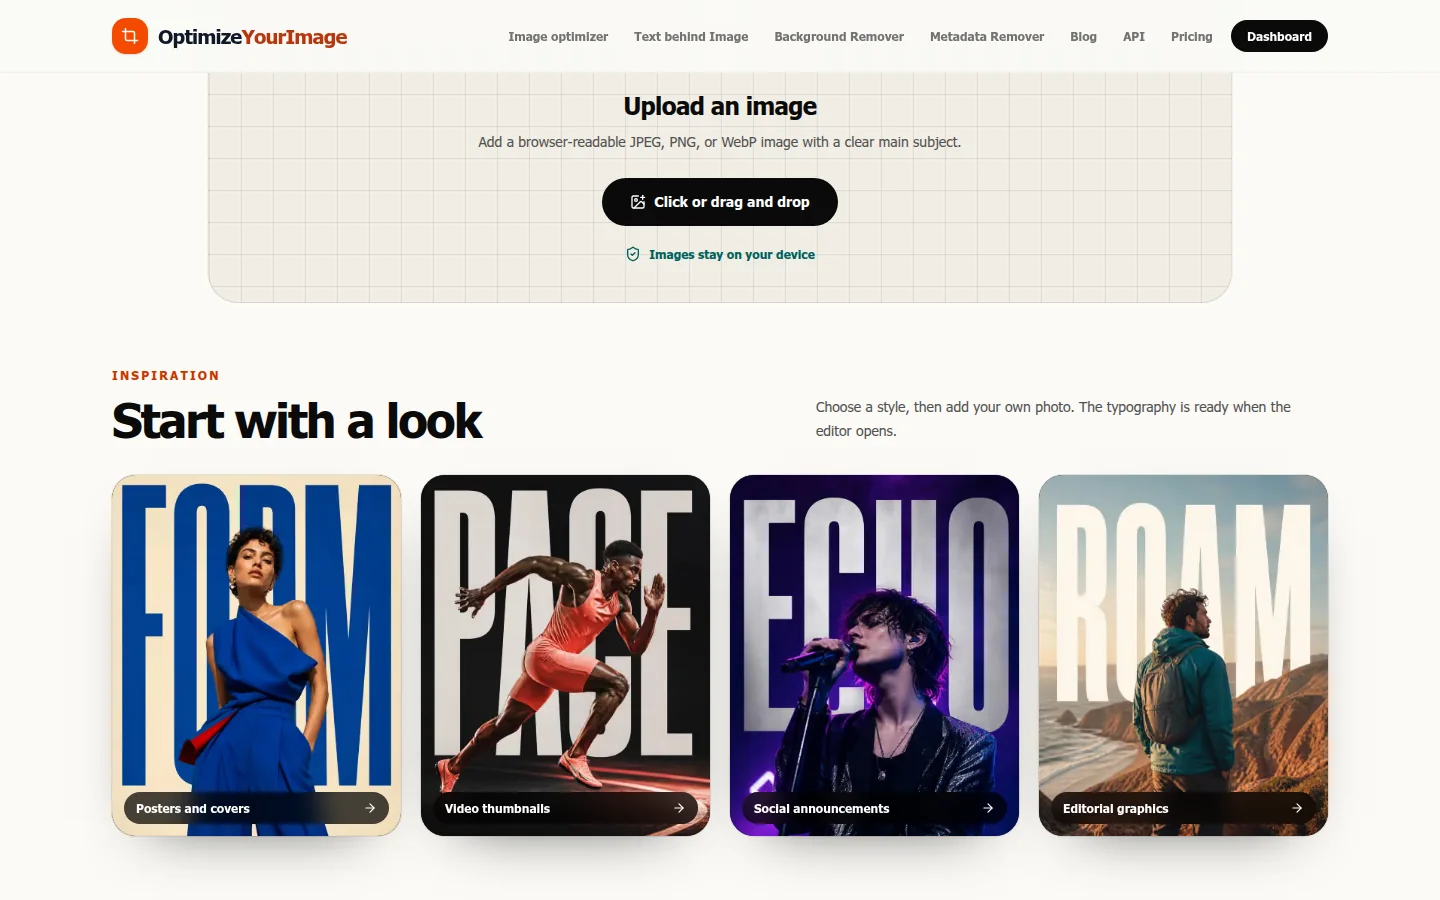
Open the free Text Behind Object editor and choose a JPEG, PNG, or WebP image from your device. You can also drag and drop the file into the upload area.
For the cleanest result, use a sharp photo with one distinct main subject. A person standing against a simple wall, a product on a contrasting surface, or an animal separated clearly from the background will usually work better than a crowded scene.
2. Let the browser identify the subject
The tool downloads the AI model assets it needs and creates a mask for the main subject locally in your browser. Your selected photo is not sent to OptimizeYourImage for editing.
The first design may take longer because the browser has to download and prepare the model. Later edits can feel faster once those assets are available.
3. Add your text
Enter the word or short phrase you want to use. The editor places it between the background and the foreground subject, creating the text-behind effect automatically.
Short, bold wording usually works best. A compact headline such as “MOVE,” “CREATE,” or “SUMMER” stays recognizable even when the subject hides part of several letters.
4. Style and position the typography
Use the live canvas controls to adjust the text until the overlap looks intentional. You can change its:
- size;
- color;
- horizontal and vertical position;
- letter spacing;
- line spacing.
Move the text across the subject and check which letters remain visible. Important words should still be easy to understand even when some portions are concealed.
5. Export the finished image
When the composition looks right, export it as a PNG. The downloaded file contains the complete design and does not include an OptimizeYourImage watermark.
How to choose a photo that works well
AI masking is most reliable when the foreground subject has a clear outline. Try to use images with:
- one obvious person or object;
- strong contrast between subject and background;
- sharp focus around the subject;
- enough empty space for a headline;
- good lighting and visible edges.
Fine hair, transparent glass, motion blur, shadows, and very similar foreground and background colors are more difficult to separate perfectly. If the generated mask misses a complicated edge, try another photo with clearer separation or make a small correction later in a full image editor.
Typography tips for a stronger result
Keep the message short
The subject will cover part of the wording, so long sentences quickly become difficult to read. One to four words are usually enough for a poster, thumbnail, or social graphic.
Use bold letters
Thick letterforms keep more visible surface area around the subject. Very thin or decorative fonts can disappear when several strokes are hidden.
Create contrast
Choose a text color that stands out from the visible background. White or a bright accent often works over dark scenery, while black or another deep color can work on pale backgrounds.
Make the overlap meaningful
Do not hide every important letter. Position the headline so the subject covers enough of it to create depth while leaving the word recognizable at a glance.
Check the design at a small size
Social feeds and mobile screens often show images as small previews. Zoom out before exporting. If the subject or headline becomes unclear, increase the text size, strengthen the contrast, or simplify the wording.
Ideas for using text behind a person or object
The effect works across many types of visual content:
- YouTube thumbnails: place a short topic or episode number behind the presenter;
- event posters: combine a performer, speaker, or athlete with a bold event title;
- social graphics: turn a portrait into a more dimensional announcement or quote card;
- product promotions: place a campaign word behind a shoe, bottle, device, or package;
- album and podcast artwork: layer a title behind the artist or host;
- travel posts: position a destination name behind a person or landmark;
- portfolio covers: combine a project title with the main visual subject.
The technique is most effective when the text supports the photo instead of competing with it.
Is the free text-behind-object tool private?
Yes. OptimizeYourImage processes the photo, subject mask, and text composition locally in your browser. The AI model files are downloaded to your device, but the photo you select is not uploaded to OptimizeYourImage for editing.
The editor is free to use, requires no account, and exports without a watermark. That makes it useful for quick personal and professional designs when you do not want to upload an unpublished portrait, client image, or product photo to an online editing service.
Text behind object versus background removal
The two effects begin with similar subject detection but produce different results.
A background remover isolates the subject and removes the surrounding scene, usually creating a transparent result. The text-behind-object editor keeps the original scene and places typography between the scene and the foreground subject.
Use background removal when you need a cutout for another design. Use text behind object when you want to preserve the whole photo and add dimensional typography directly to it.
Frequently asked questions
Can I put text behind a person without Photoshop?
Yes. A browser-based editor can identify the foreground person and position text behind that layer automatically, so you do not need to create a manual mask in Photoshop.
Is OptimizeYourImage’s text-behind-object tool free?
Yes. You can create and export the effect without signing up, paying per image, or receiving a watermark.
Does the tool upload my photo?
No. Your browser downloads the required AI model assets and processes the selected photo locally on your device.
Which image formats can I use?
The editor accepts common browser-readable JPEG, PNG, and WebP images. A clear image with one distinct foreground subject generally gives the best result.
What format does the editor export?
The completed composition is exported as a PNG.
Why does the first edit take longer?
The browser needs to download and prepare the local AI model before it can create the subject mask. The exact time depends on your browser, device, and connection.
Create your text-behind-object design
The text-behind-object effect looks like advanced image editing, but the core workflow is simple: choose a clear photo, let local AI identify the subject, add a short headline, adjust the composition, and export the result.
Open the free Text Behind Object editor to create a layered poster, thumbnail, or social graphic in your browser—without an account, watermark, or photo upload.